
I and Johan (http://ottocephalous.blogspot.se/) had our first big battle of our Crusader project and we split our joint collection into two forces and battled it out. We used the Hail Caesar rules from Warlord Games and we have really come to like it.
The game would be played on a double gaming board and our forces would be set up in opposite corners. This will hopefully make a grand battle.
We rolled a dice and it decided that I had to brake the enemy army before the end of turn 6.
We don't know if its fair for gaming balance (probably not) but it meant to give the game some more momentum and speed as I had to race against the turns and use speed to close in. Hopefully this would mean as a sort of motivator for one of the forces to close in.
To bad really that I had to attack, because my infantry had a nice position in the village.


Johan rolled two 1... resulting in a heavy cavalry unit breaking from the battle...
Two 6s followed by two 1s... I dont think I have to give you the odds for that, but just say that this will probably not happen any more time ever...

One heavy cavalry unit locked in combat, one broken and one shaken and forced to pull backwards... His lines held...
Dammit, I got a little to hot blooded and wanted to try out the shining heavy cavalry formation and unfortunately used a more western approach and hit the enemy head on... It didnt really go that well...
But it was only fair, next time I have to remember to use a more eastern approach and soften the enemy up with archers and using the speed of the cavalry to hit them in the sides.


Reformed after missing one heavy cavalry unit because of my archers.... Oh yeah oh yeah...


My commander joins in and lead the attack one of the spear units next turn and forcing it back a further. Unfortunately the staggering amount of casualties meant that the unit was now shaken and could press on the attack any more.


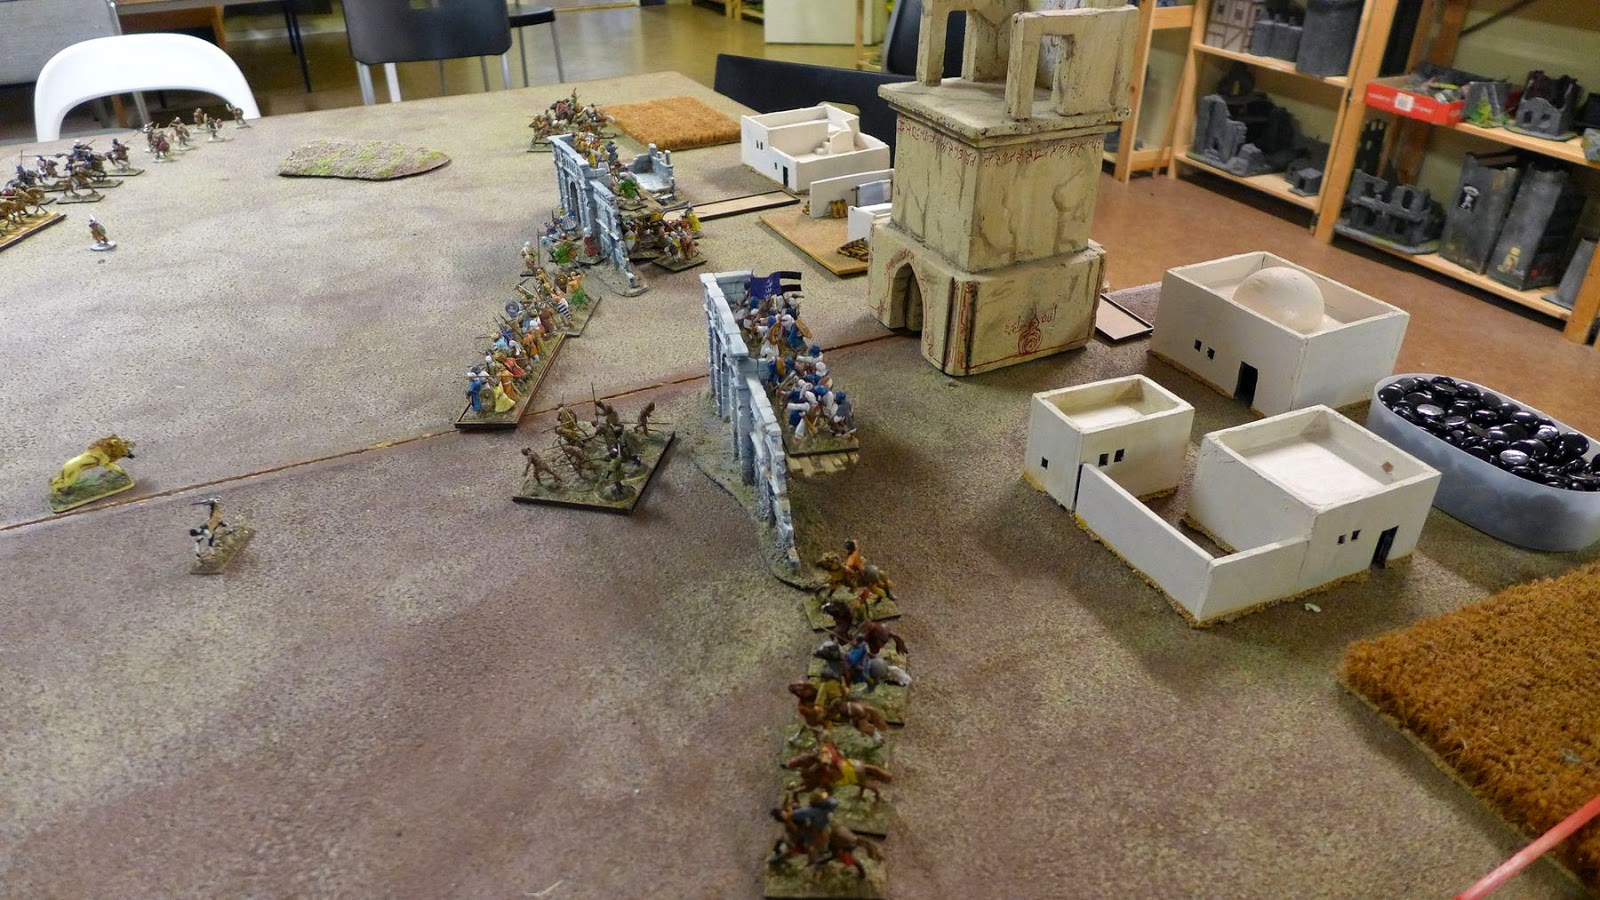


An Asian lion was seen chasing an Oryx.

I didn´t manage to brake his army. My infantry enjoyed the protection of the village to much and I had a hard time to motivate them to leave it to close in on the enemy.
A victory for Johan, and only fairly. I should be punished for trying to use western cavalry tactics with eastern horsemen....
The battle did swing a little more in my favour when my heavily outnumbered cavalry unit did manage to press three enemy spearmen units with heavy casualties but it was not enough.
A really nice game and I hope that Johan and I will have many more like it.
I think this battle will become a real good lesson on how to or how not to play, give a great idea what units are capable of and a little hint on what Johan and I should paint in the future to our forces.
An I hope this can motivate some members of the club to tag along on this great crusader project....
Interesting AAR and some nice photos.
ReplyDeleteGood Luck with the ongoing campaign!
Greate looking game and a interesting read !
ReplyDeleteEn intressant blog
ReplyDeletehttp://seakingsaga.blogspot.se/
Indeed, could give some inspirations to our project.
Delete