I think that we were in need for some new hills for our desert terrain at the club, so I built some.
And I did a tutorial on each step.
Keep in mind that this is the first time I have done hills like this so these are a sort of testrun and next time I might do some things differently. But it works.
I have done these terrain pieces over a couple of days in my basement. The overall time in not much, 5 minutes here and 10 minutes there and you get some nice looking terrain in the end. The things that takes time is to let it dry between each step.
First up a base, some expanded polystyrene and woodbark. All glued together using woodglue.
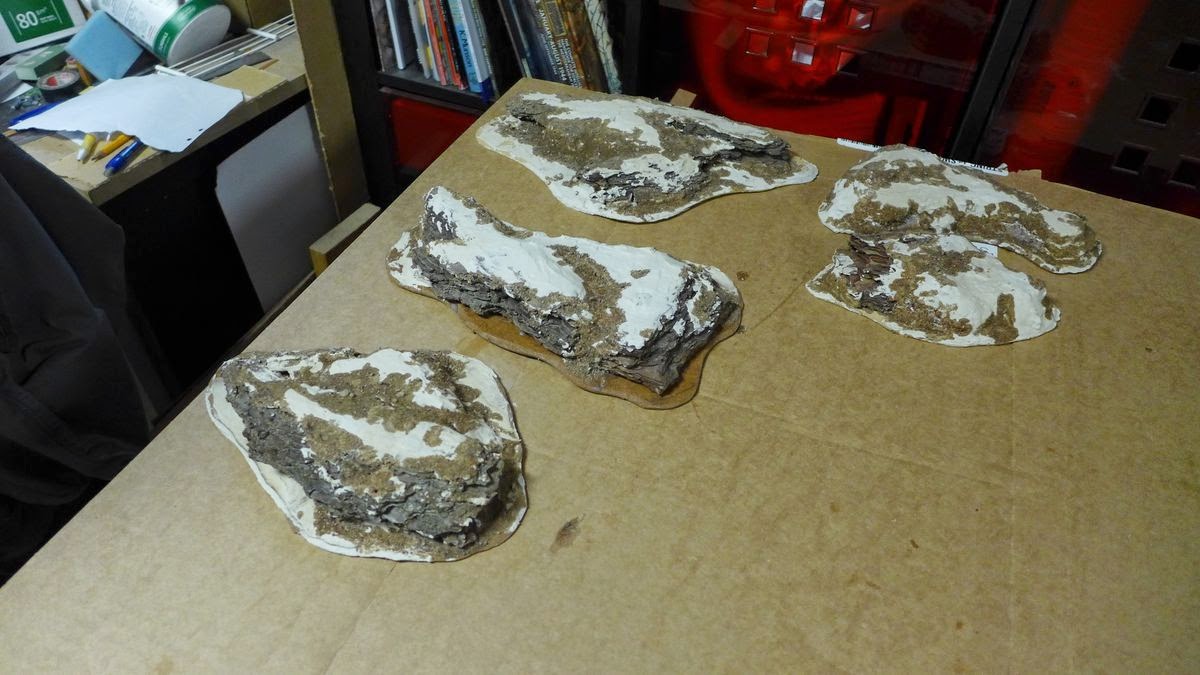
Next I covered the polysterene and some places of the bark with plaster. The plan was to cover the polysterene from the primer later on.
And then I added woodglue and sand on chosen places.
A black priming using a spray can.
I found some places not totally covered with the plaster but I think it will be all right.
Next, a sort of "zenith highlight" using a brown primer at about 45 degrees angle. Leaving the black primer on the bottom part and places "in the shade" on the terrain pieces.
Next up was more woodglue and more sand.
And after this some small patches of flock. This is to get a greater colour variation on the terrain piece more then trying to imitate real hills or cliffs.
And we are done.
With 15mm DAK
10mm Scifi, a Shaltari force
And the main reason that I did them, as terrain for the clubs Crusader project.
So what have I learned?
Next time I will not use expanded polystyrene found in packing materials but the harder ones commonly used as building material/ insulation for houses.
And I might try to use another colour then brown for the highlight but in this Im not sure.
A easy way of doing nice looking terrain non the less.


Nice project - very similar to something I built last year. They work really well with lots of different genres
ReplyDeleteWhat a fabulous tutorial, thank you.
ReplyDeleteLooks great, nice tuto!
ReplyDeleteGood stuff- really nicely done.
ReplyDeleteWhere, oh where do you find those large pieces of bark? I've searched loads of garden centers and all I can find is the smaller bark chips.... :>(
I source my bark from the local woods...find a tree that has fallen down
DeleteThanks mate. I expect that I may have to wait until early Spring at the earliest as I think much of the bark on fallen trees may be quite rotten by now with the weather we're having in the UK.
DeleteI will be taking up the quest to find some though!
Darrell.
As with Eric I found these in the woods.
DeleteThey have been laying in my basement since summer when I found them during a walk with the daughter with the stroller.
I guess these have dried now...
Im glad that I finally did what I planned for.